Introduction
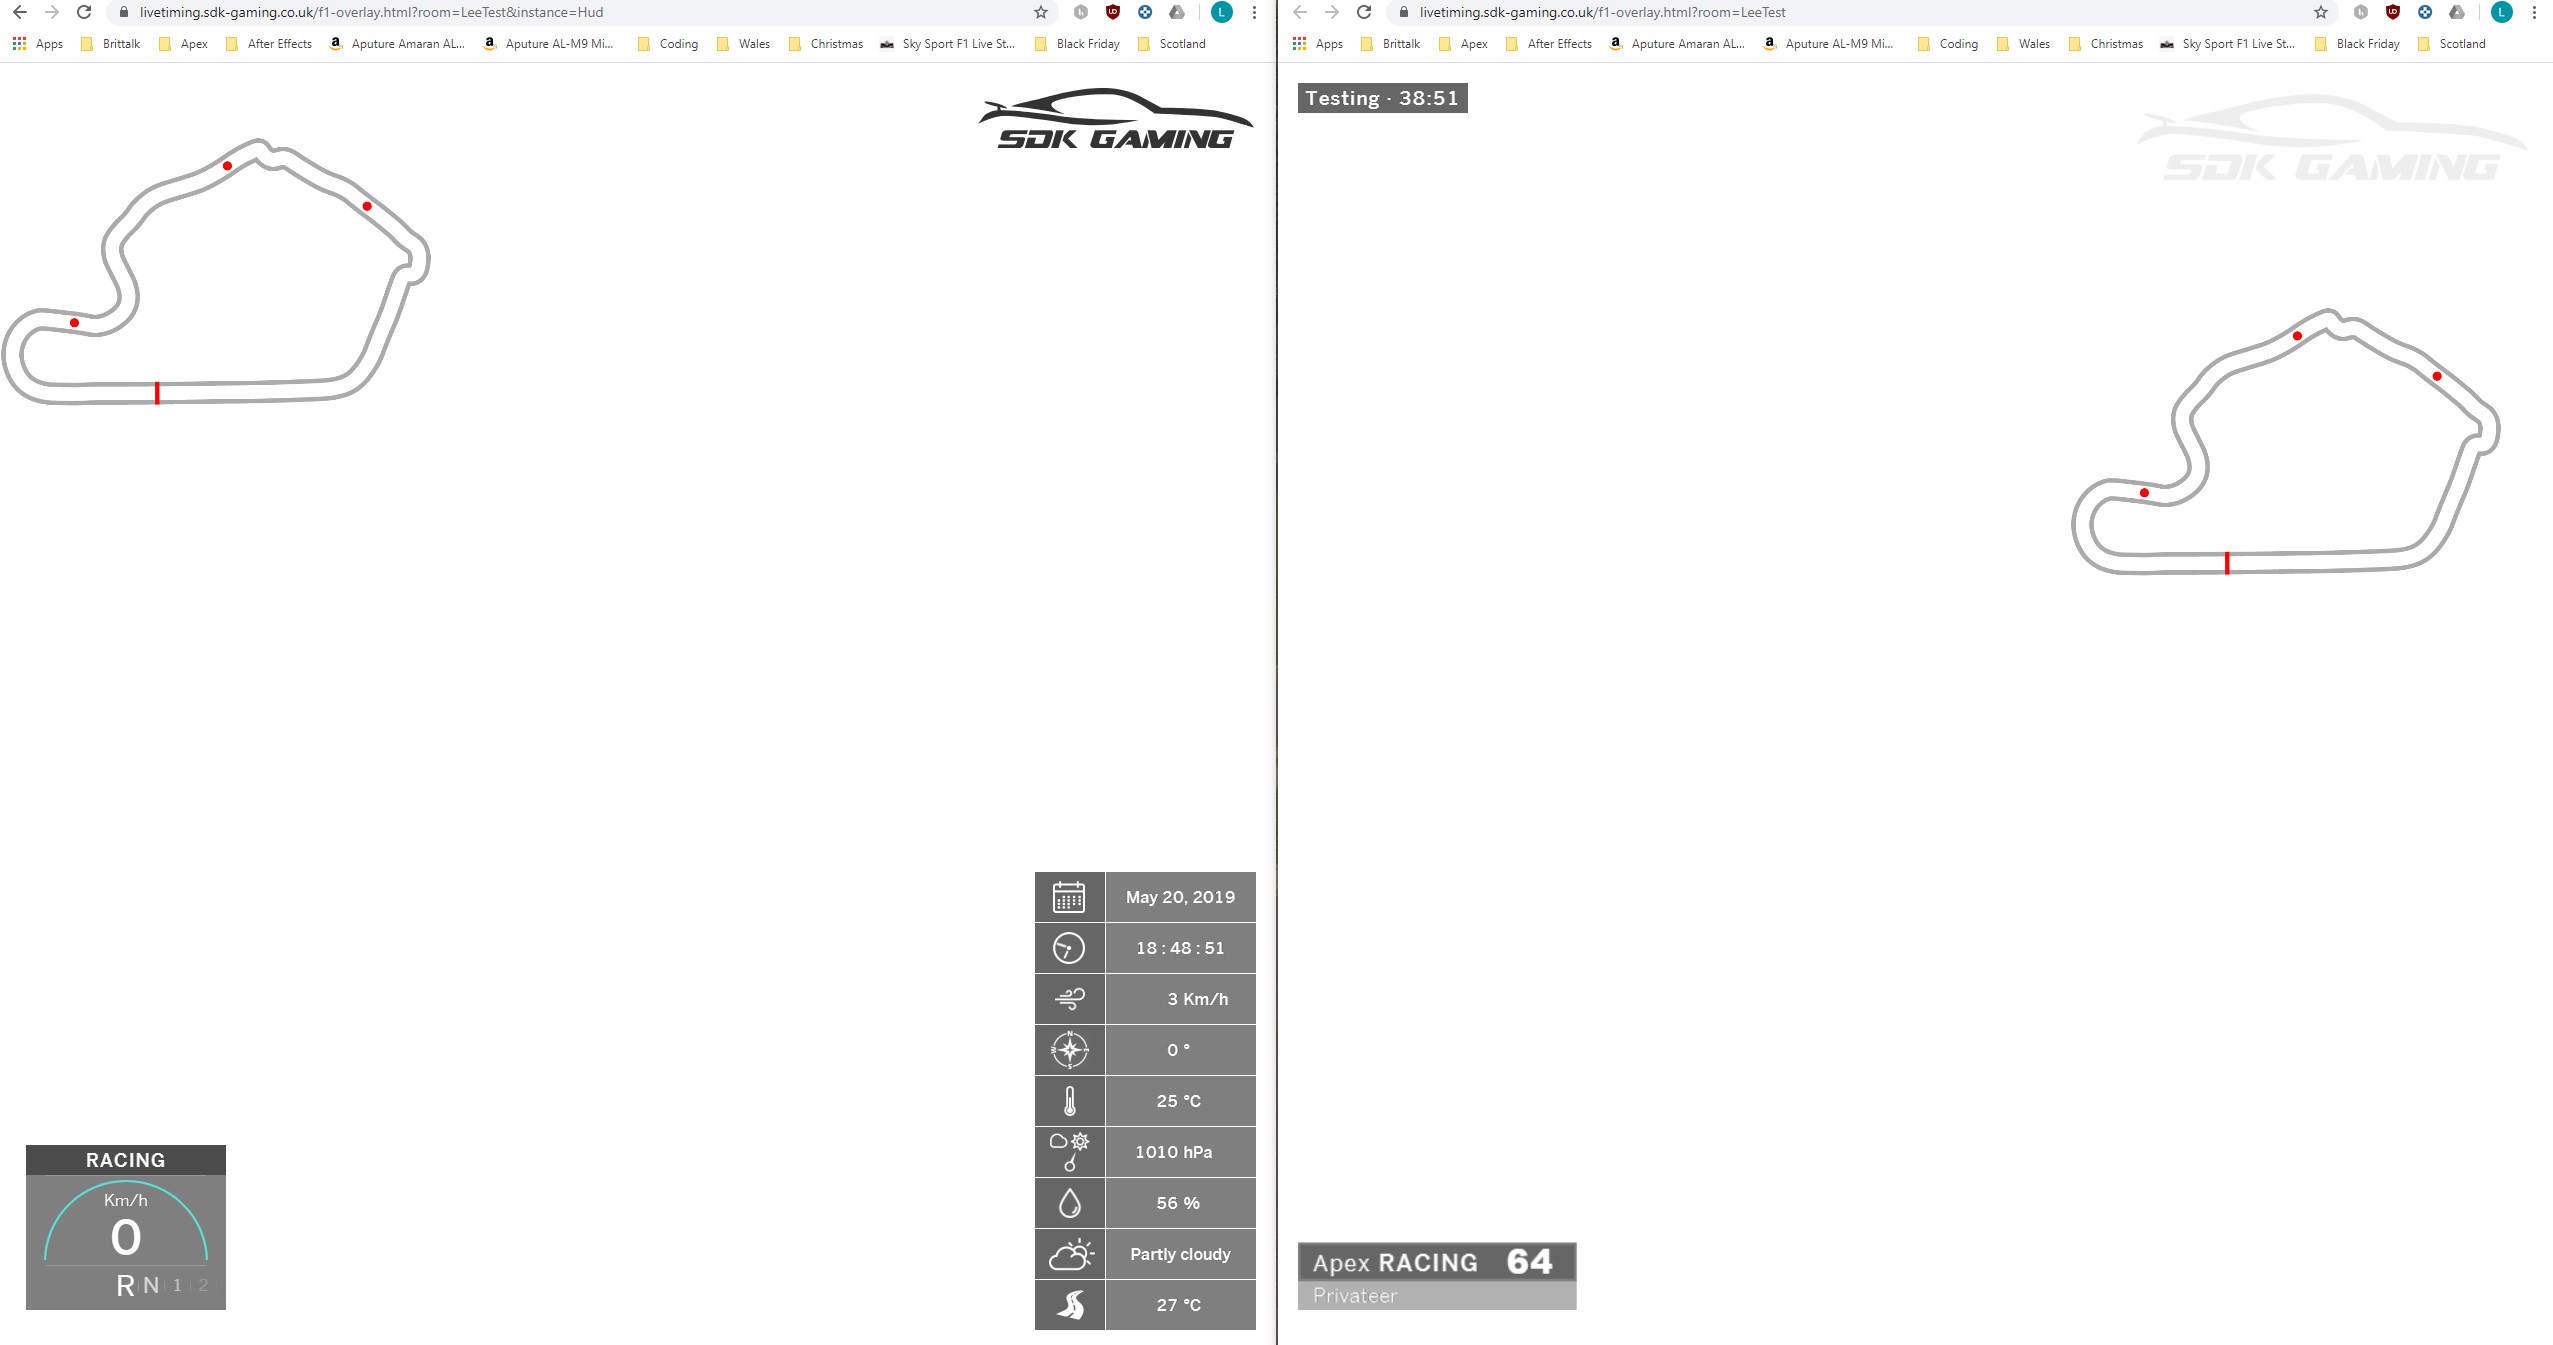
Displaying a second instance of your Overlay could be useful if you want to display a different overlay you can see when driving and compared to your overlay that your stream viewers can see.
Several overlays connected to the same room can display components with instance specific settings (variables) as well as instance specific styles (style overrides).
You may have noticed already that all Variables you currently use begin with Overlay. and all Style Overrides being with .overlay
Overlay is the default name of your overlay.
To display any information on a second instance we first need to define a new name for it. In our example we will use Hud. If you want to use this second instance in the Live HUD App then you will simply enter Hud in the Instance Field, if you want to display this second instance in OBS then add &instance=Hud to the end of your url entered into the browser source. Your instance name must start with a capital letter.
Now your new instance will display no overlay and your original instance will be unchanged. This is because we have yet to define any variables or styles in this new instance.
Define Variables
For our example let’s first just add a Track Map to our new instance:
- Press F4 in iRacing Live Timing to open the remote control tab and then press F2. You have now entered Edit Mode.
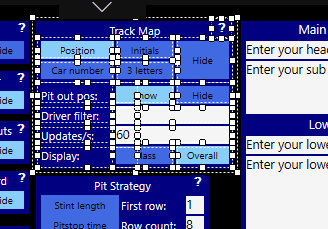
- Alt + Left Click the Track Map Component so the whole component is selected and select the Copy then Paste button in the edit menu on the right hand side (this may be hidden by your F3 settings menu). Click and drag the component to reveal the copy and reposition as desired.
- You could now create a second tab for the Remote Control Panel if you wanted to separate the views for the controls for your two instances. In the Tab field in the edit menu, enter your name of choice and you will see the tab created on the left edge of the Remote Control Panel. The component has now been moved to this new Tab.
- Viewing the duplicated Component in this new HUD tab, Alt + drag around the component so that only the widgets that can have an instance applied are selected.
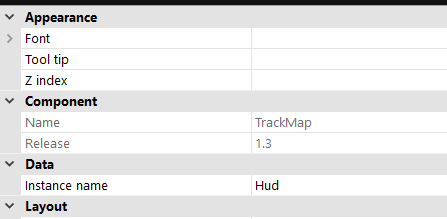
- With this component selected still you will see the Instance field listed in the edit menu. Enter your desired instance name here (Hud in our example). Instance names entered here must start with a capital letter.
- As well as Alt + dragging to make your original selection, you can also just Left Click to select individual widgets.
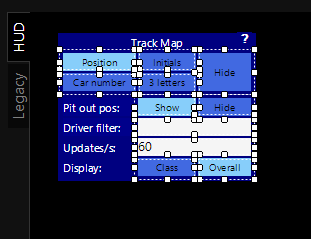
- Exit Edit Mode with F2 again and the variables for this entire component have now been assigned to your new instance.
Operating the buttons on this component(s) will now only affect the component in your second instance.
Define Styles
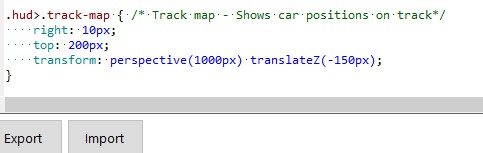
Depending on the Component you are working on, you have may have noticed the Track Map (for our example) is displaying in a different size and/or position. This is because we have not defined any Styles for our new instance.
The Component you are working on may already be listed in your Style Overrides. If not then click the question mark on the component in your Remote Control Tab to be taken to the help page. Copy the example CSS code at the bottom of the help page and paste at the bottom of your Style Overrides. Replace .overlay with .hud (no capitalisation this time), click Apply and you will see the Component resize/reposition in your new instance. You can now make any normal CSS adjustments to this new code (check here for more information on editing CSS Styles).
Rinse and Repeat
So hopefully you now get the idea, for every component you want to display in this new instance you need to define both the variables and the styles.
If you are working from a replay file you will need to ensure you duplicated the Initial Settings component so you can select the Replay File button, otherwise this new instance won’t display!
This is an advanced feature and so will take some time to setup and understand. Be sure to jump into Discord for any help you need!