
Editing CSS Styles
In iRacing Live Timing open the Configuration Panel by pressing F3 or click the burger menu icon at the top right of the screen. Use the Load Project option to load your project file, connect to your room and check that your overlay is displaying correctly.
In the Overlay section of the Configuration Panel click in the Style overrides field and click on the 3 dots on the right hand side to open the Style overrides window.
The Style overrides window now displays a selection of exposed code with descriptions to allow you to customise the look and style of your overlay. The code is all colour coded:
- Green contained in /* */- A description of what the adjacent code means, has no effect on the code itself.
- Red – Designates a section of code relating to a component of the overlay.
- Green and light blue – The CSS property. What it is you are adjusting.
- Blue – The CSS value. How you are adjusting the CSS property.
Let’s look at some examples of basic CSS edits you can make on the next page!
Size and Position
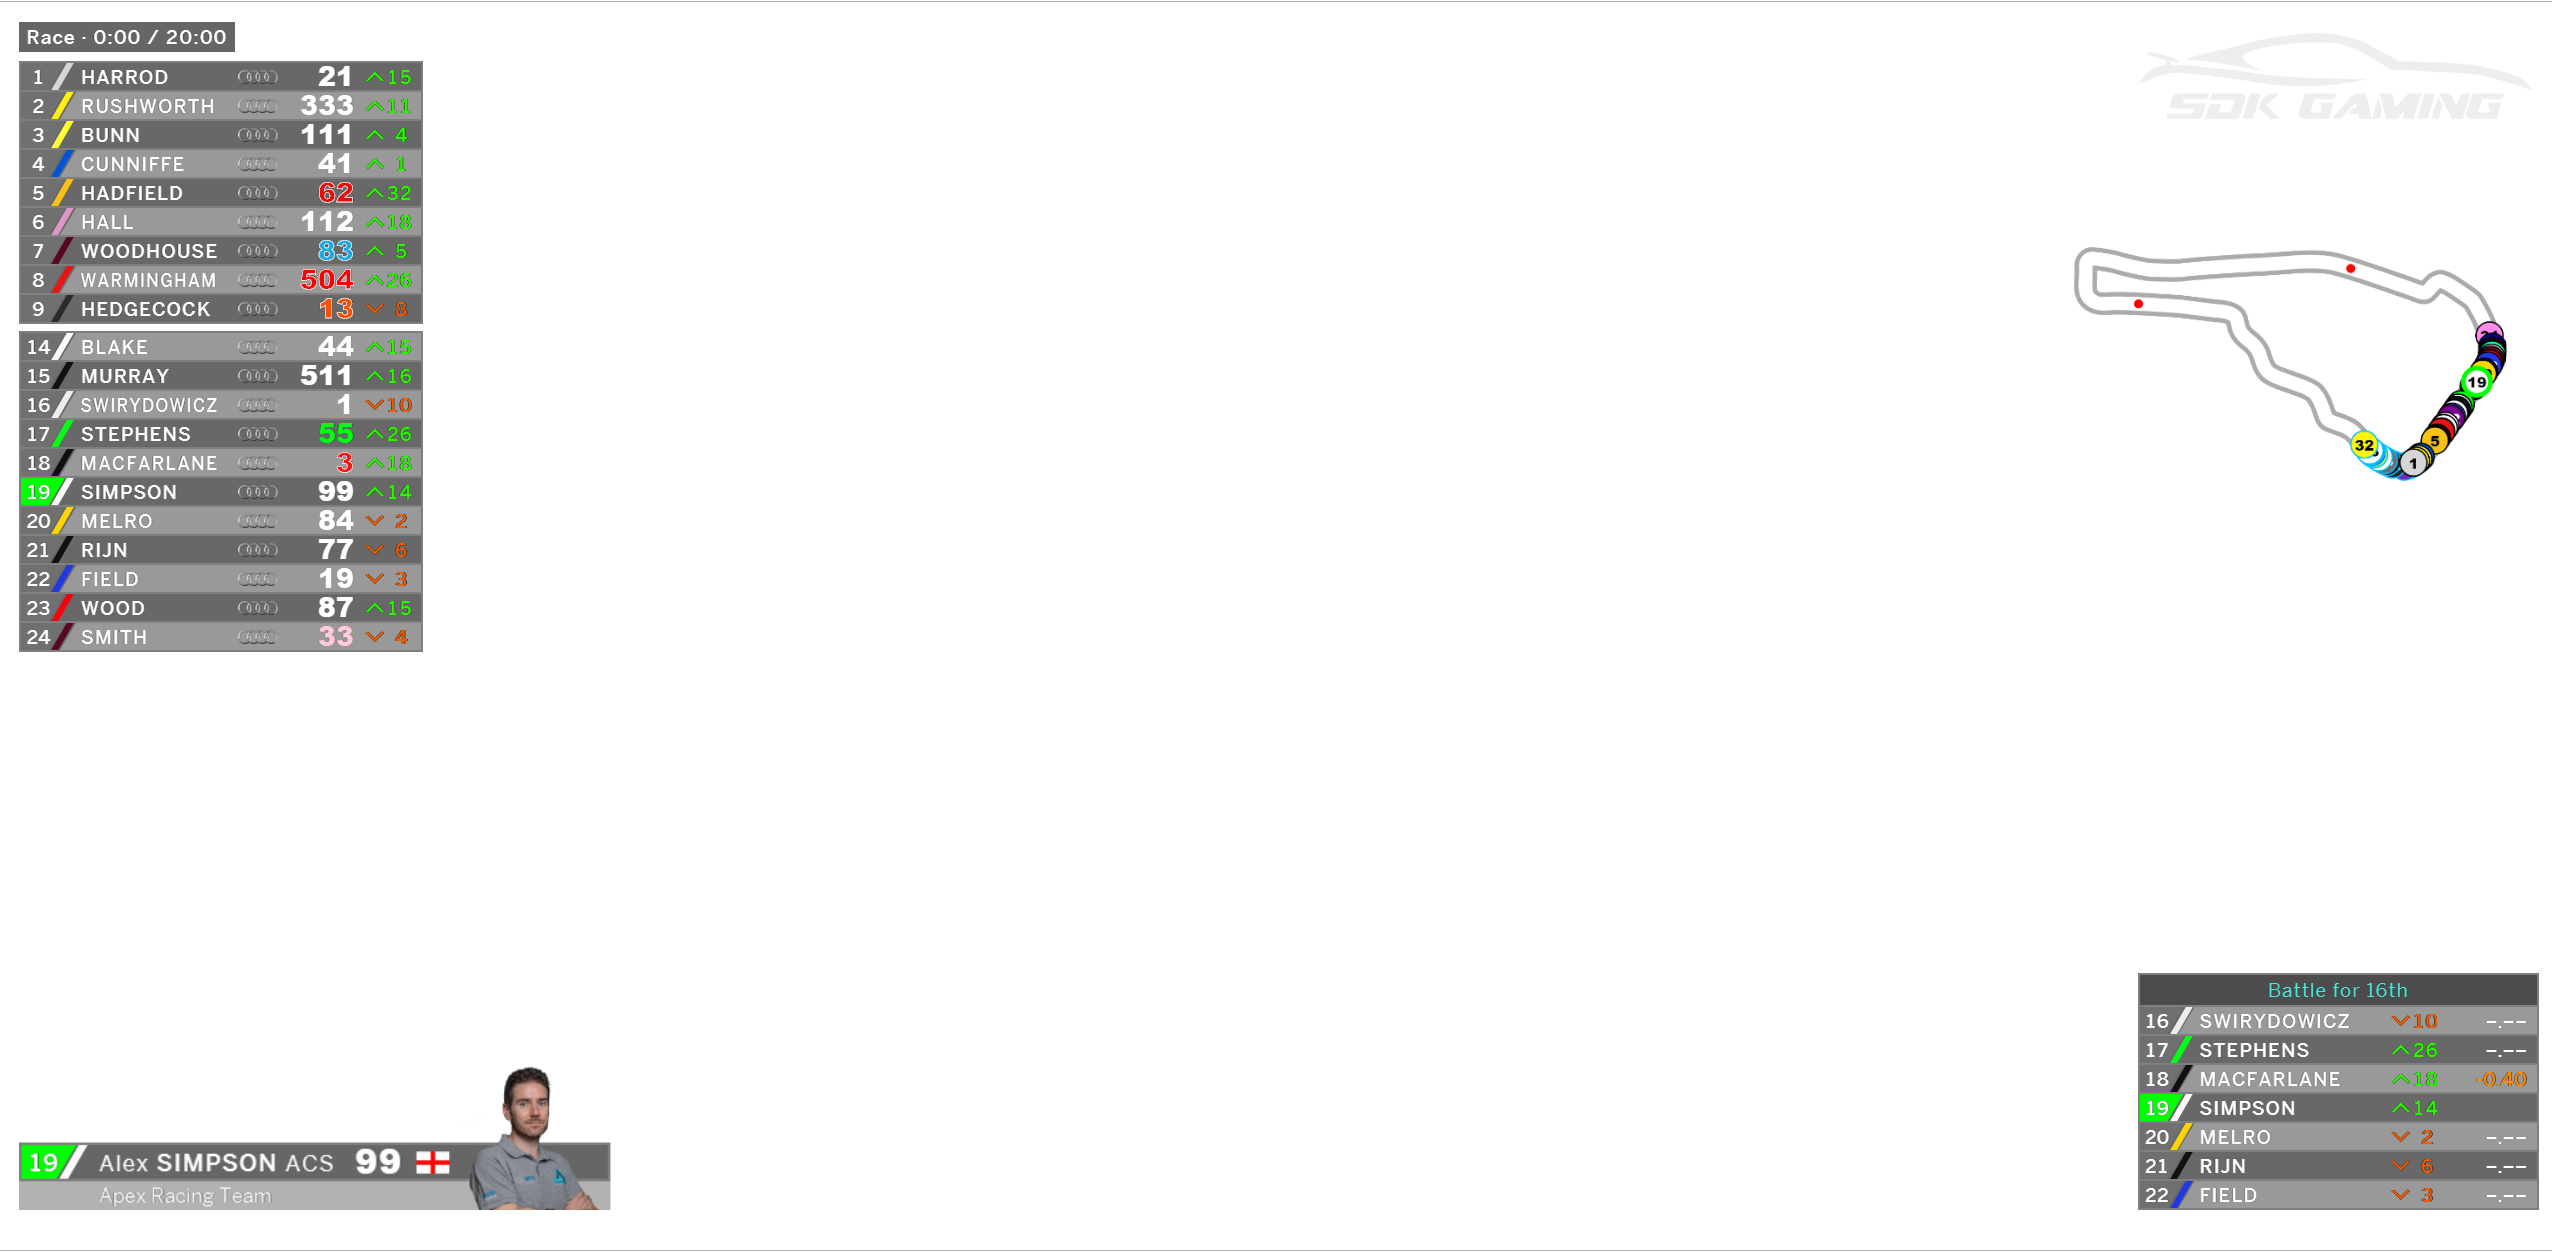
For our example we will re-position and then resize the Battle Box Component to allow space for the streamer to place a web cam in the bottom right hand corner of the overlay.
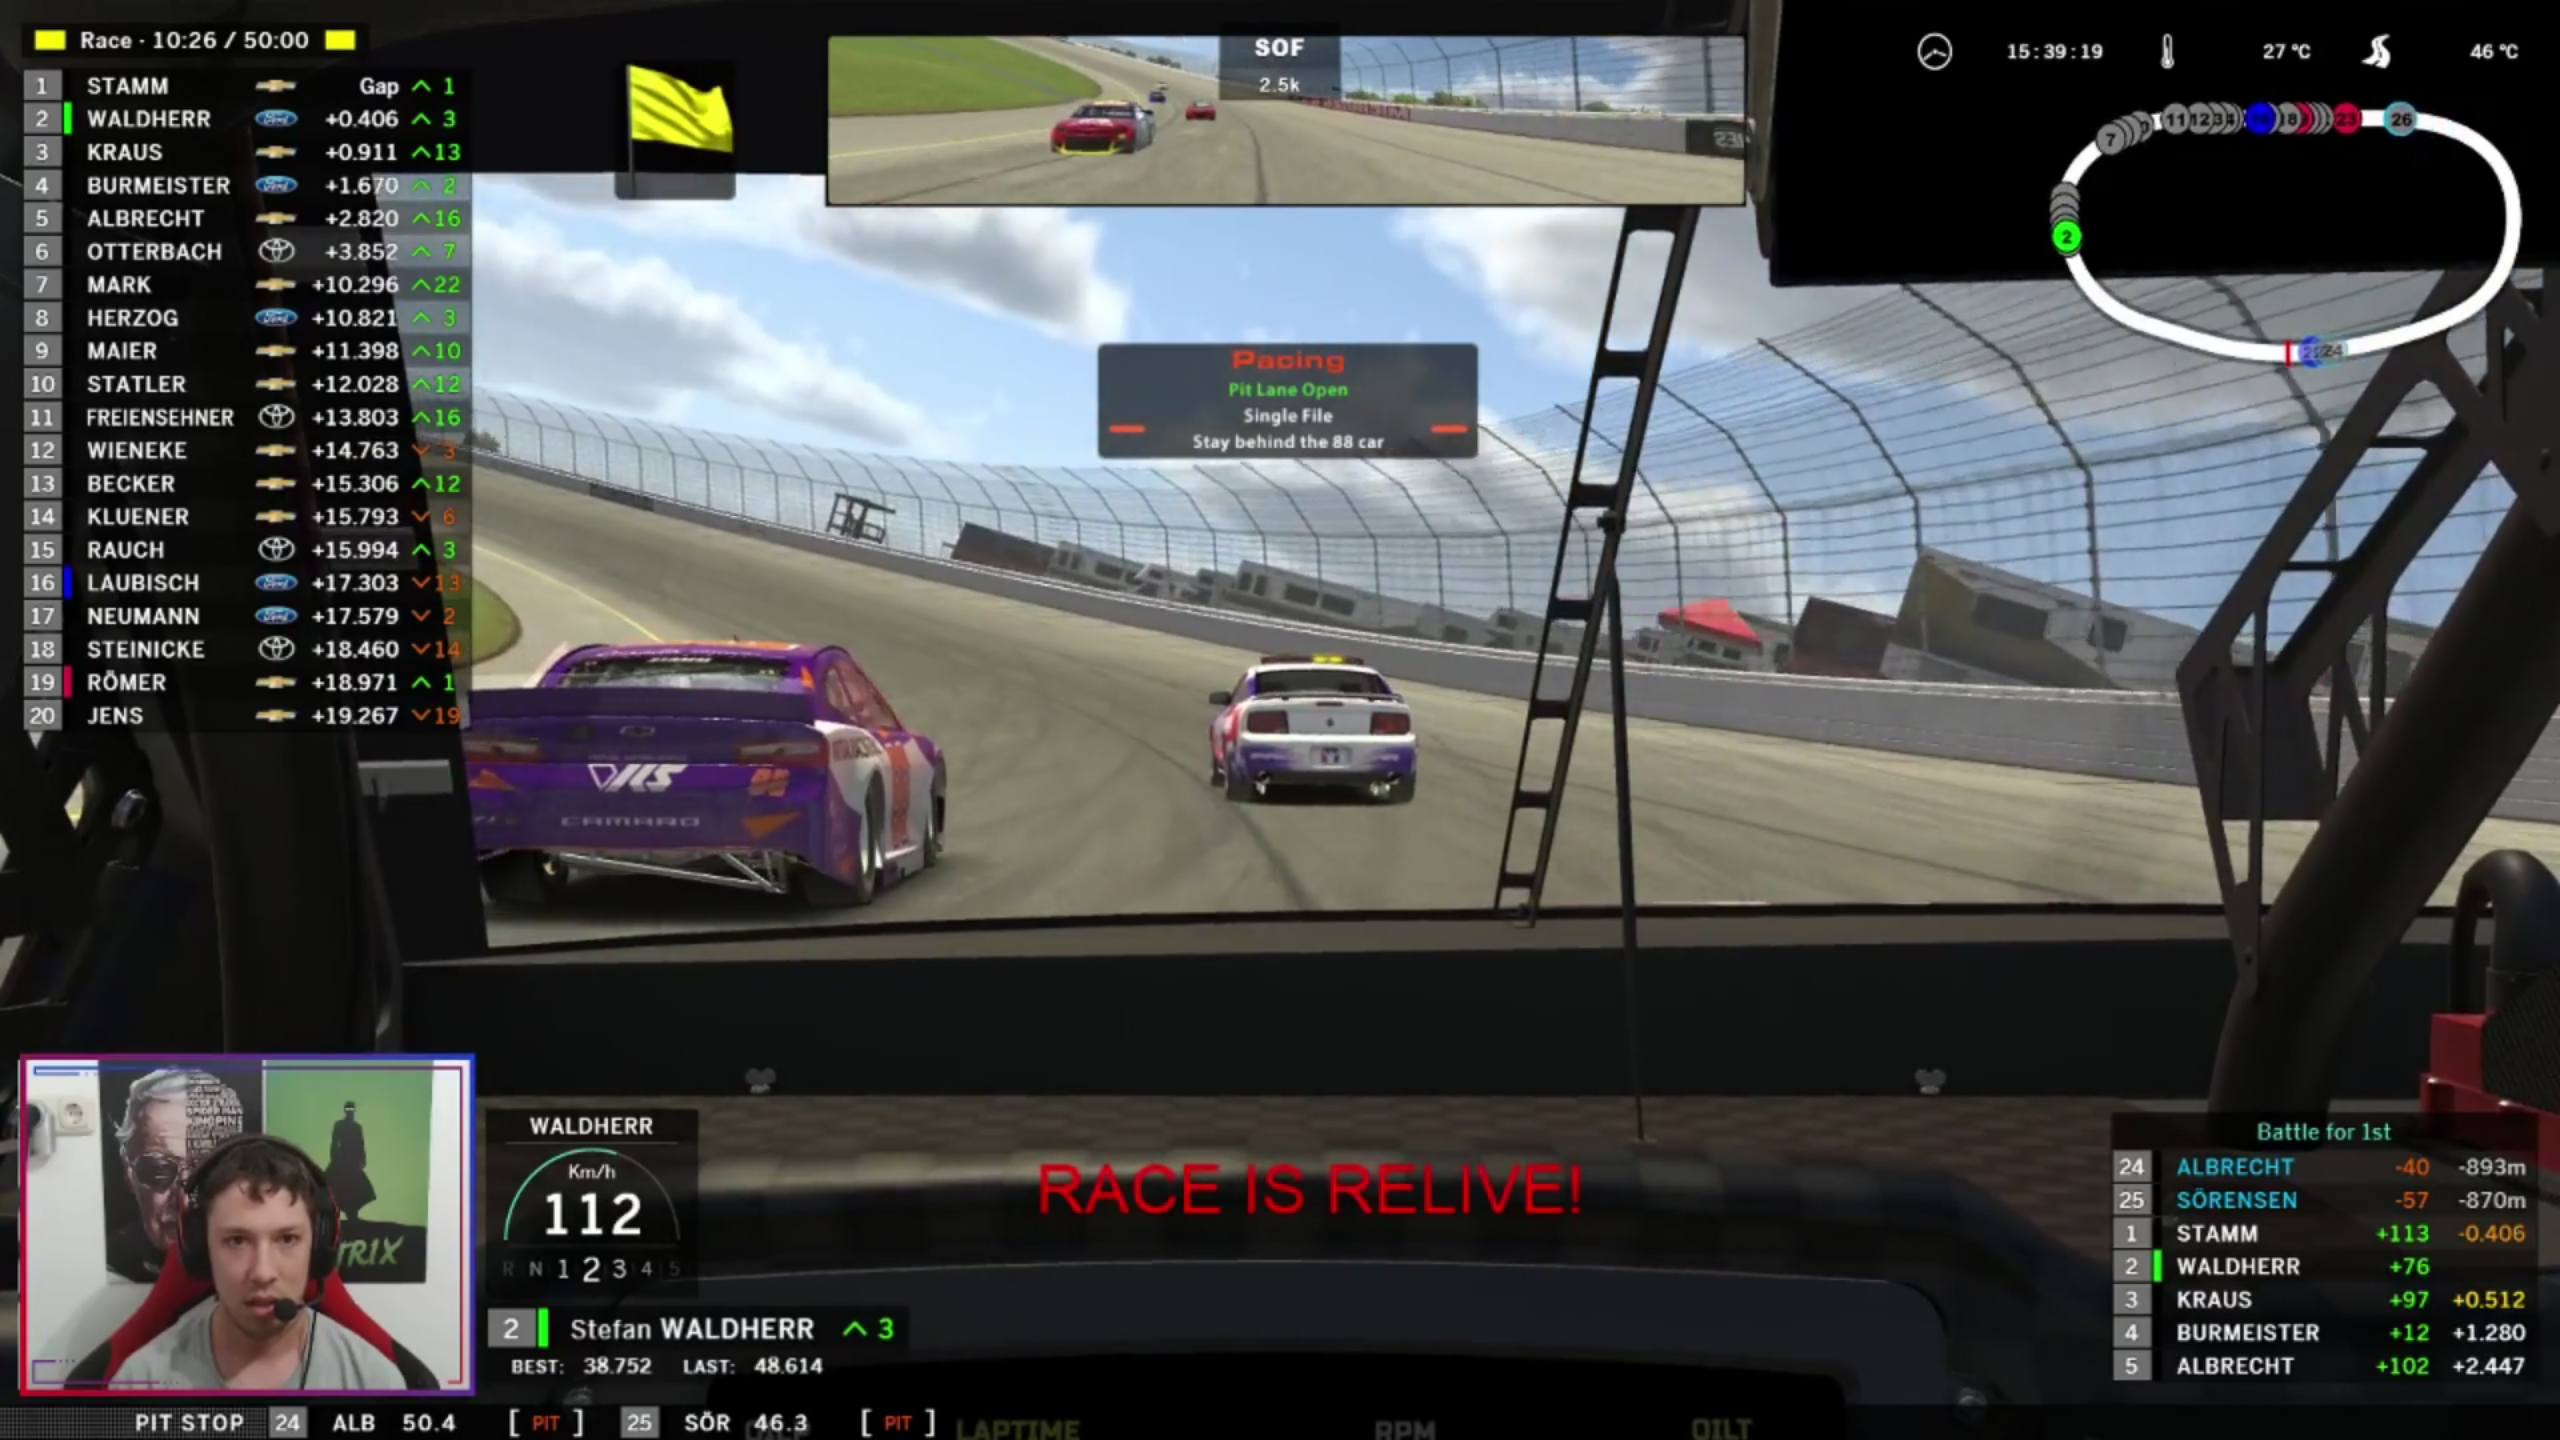
This image shows the default layout of the Battle Box Component in the bottom right hand corner of the overlay and below is the default Style Overrides code that controls how the Component will be displayed.
.overlay>.battle {
   bottom:40px;
   right: 20px;
   transform:perspective(1000px) translateZ(0px);
}

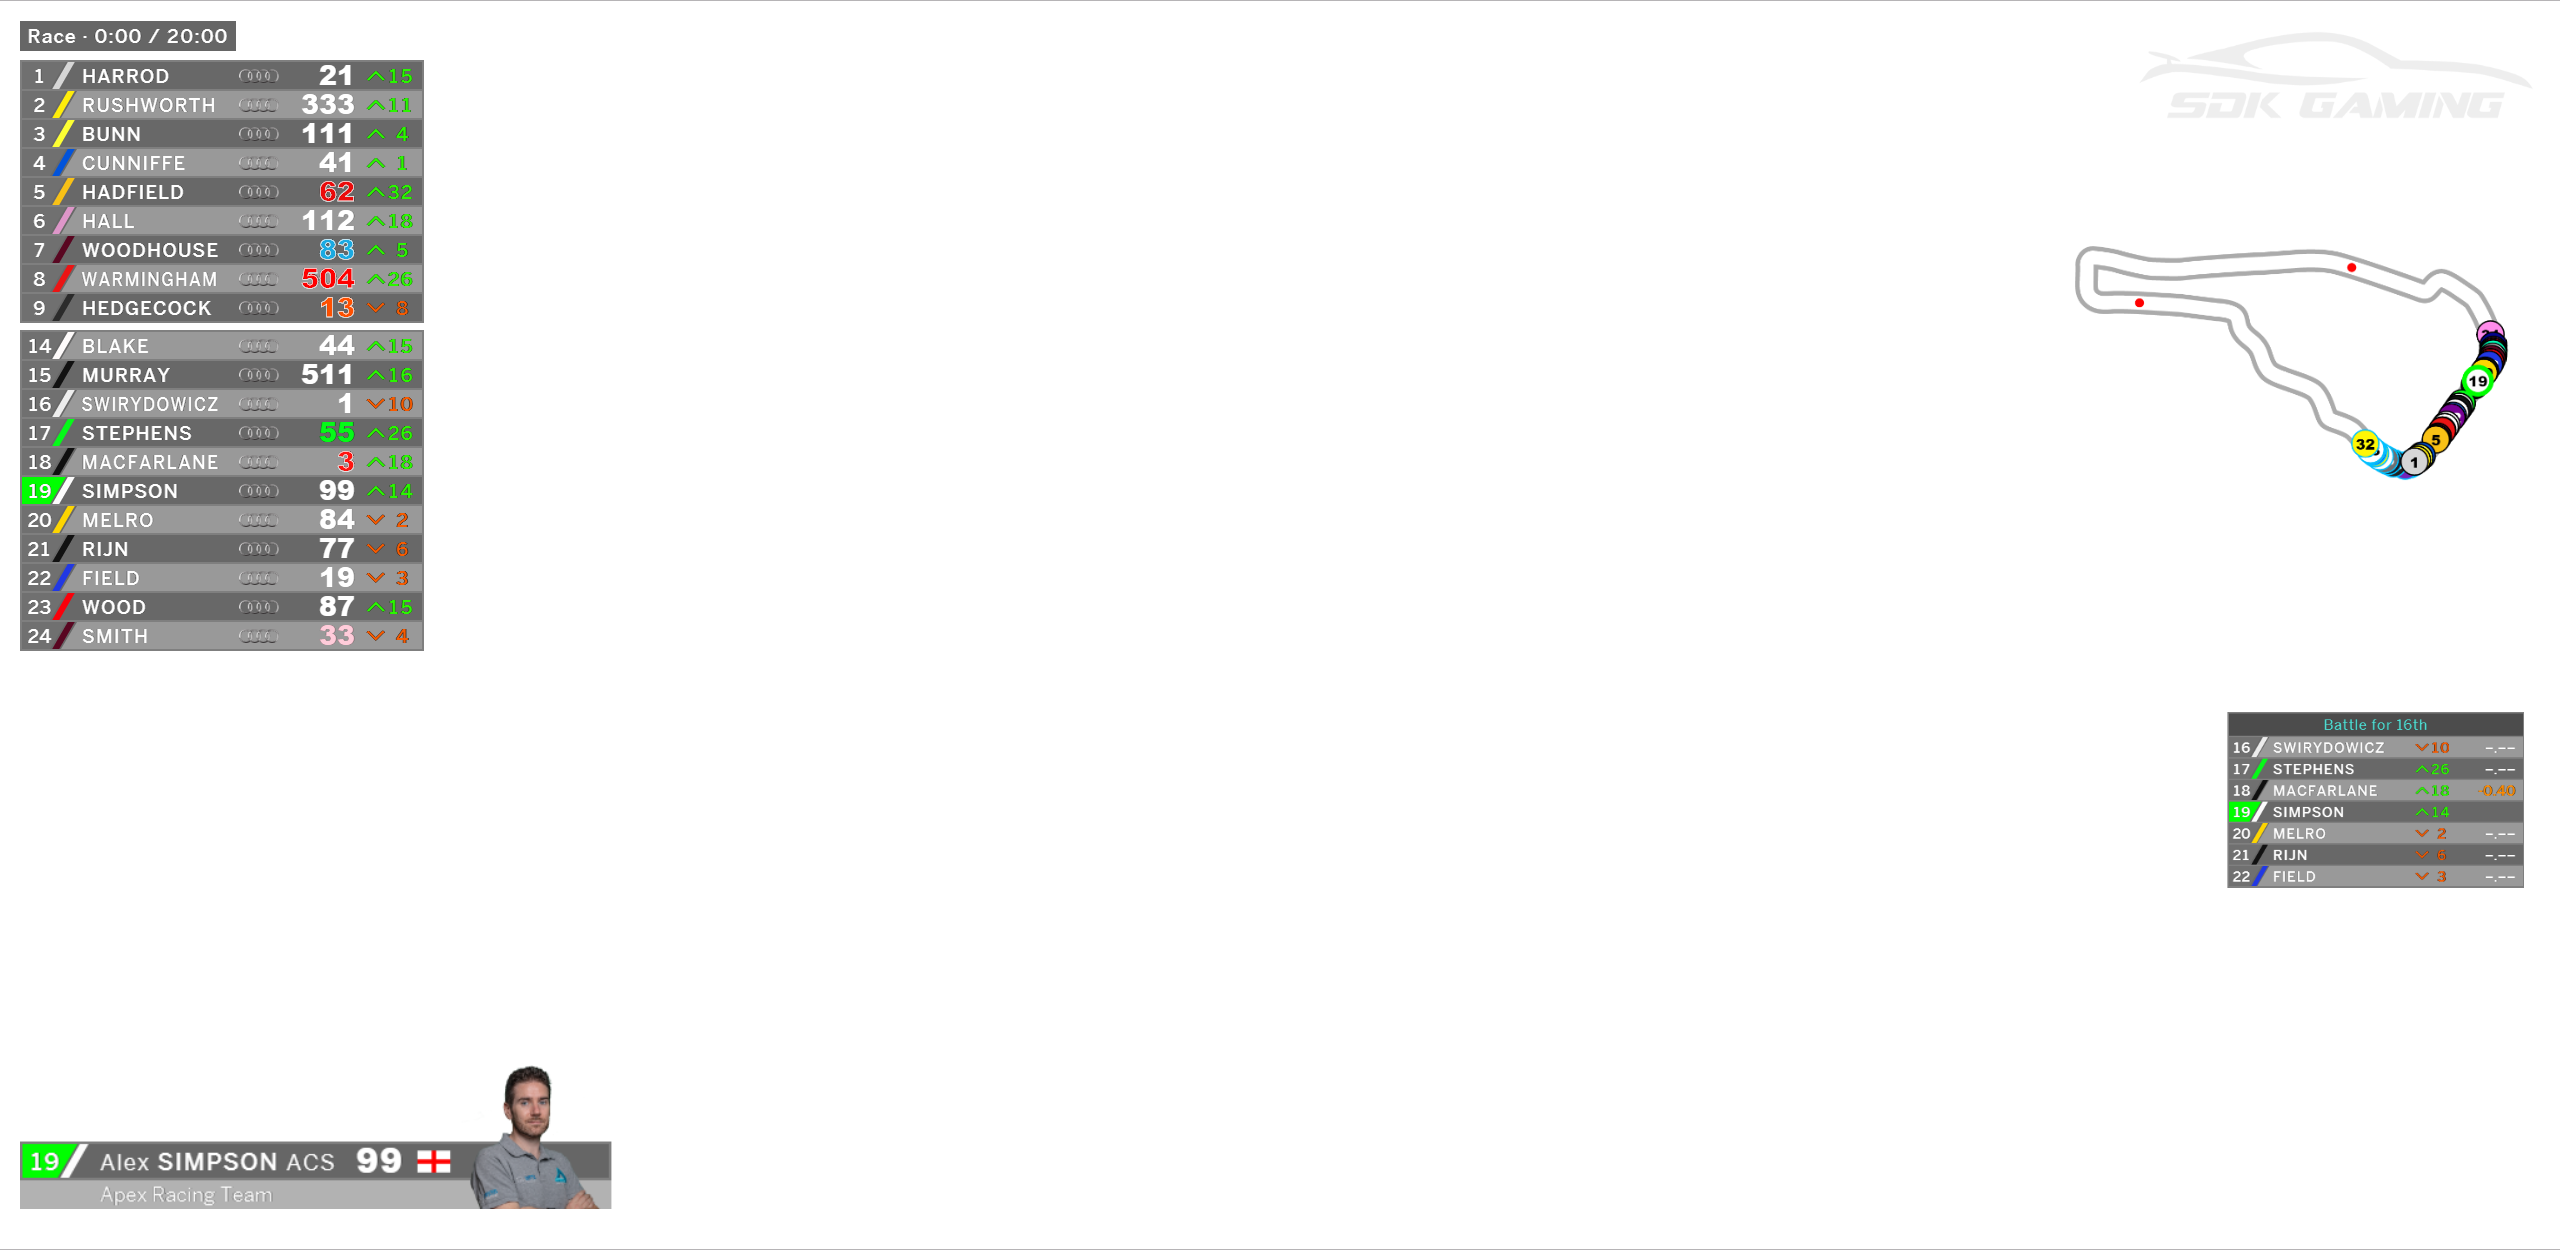
We can see a CSS property called Bottom with a value of 40px. Increasing this value will increase the number of pixels between the bottom of the overlay and the Component.
As you can see in this image, we have chosen a value of 300px and the position of the Battle Box is reflected in the overlay.
.overlay>.battle {
   bottom:300px;
   right: 20px;
   transform:perspective(1000px) translateZ(0px);
}
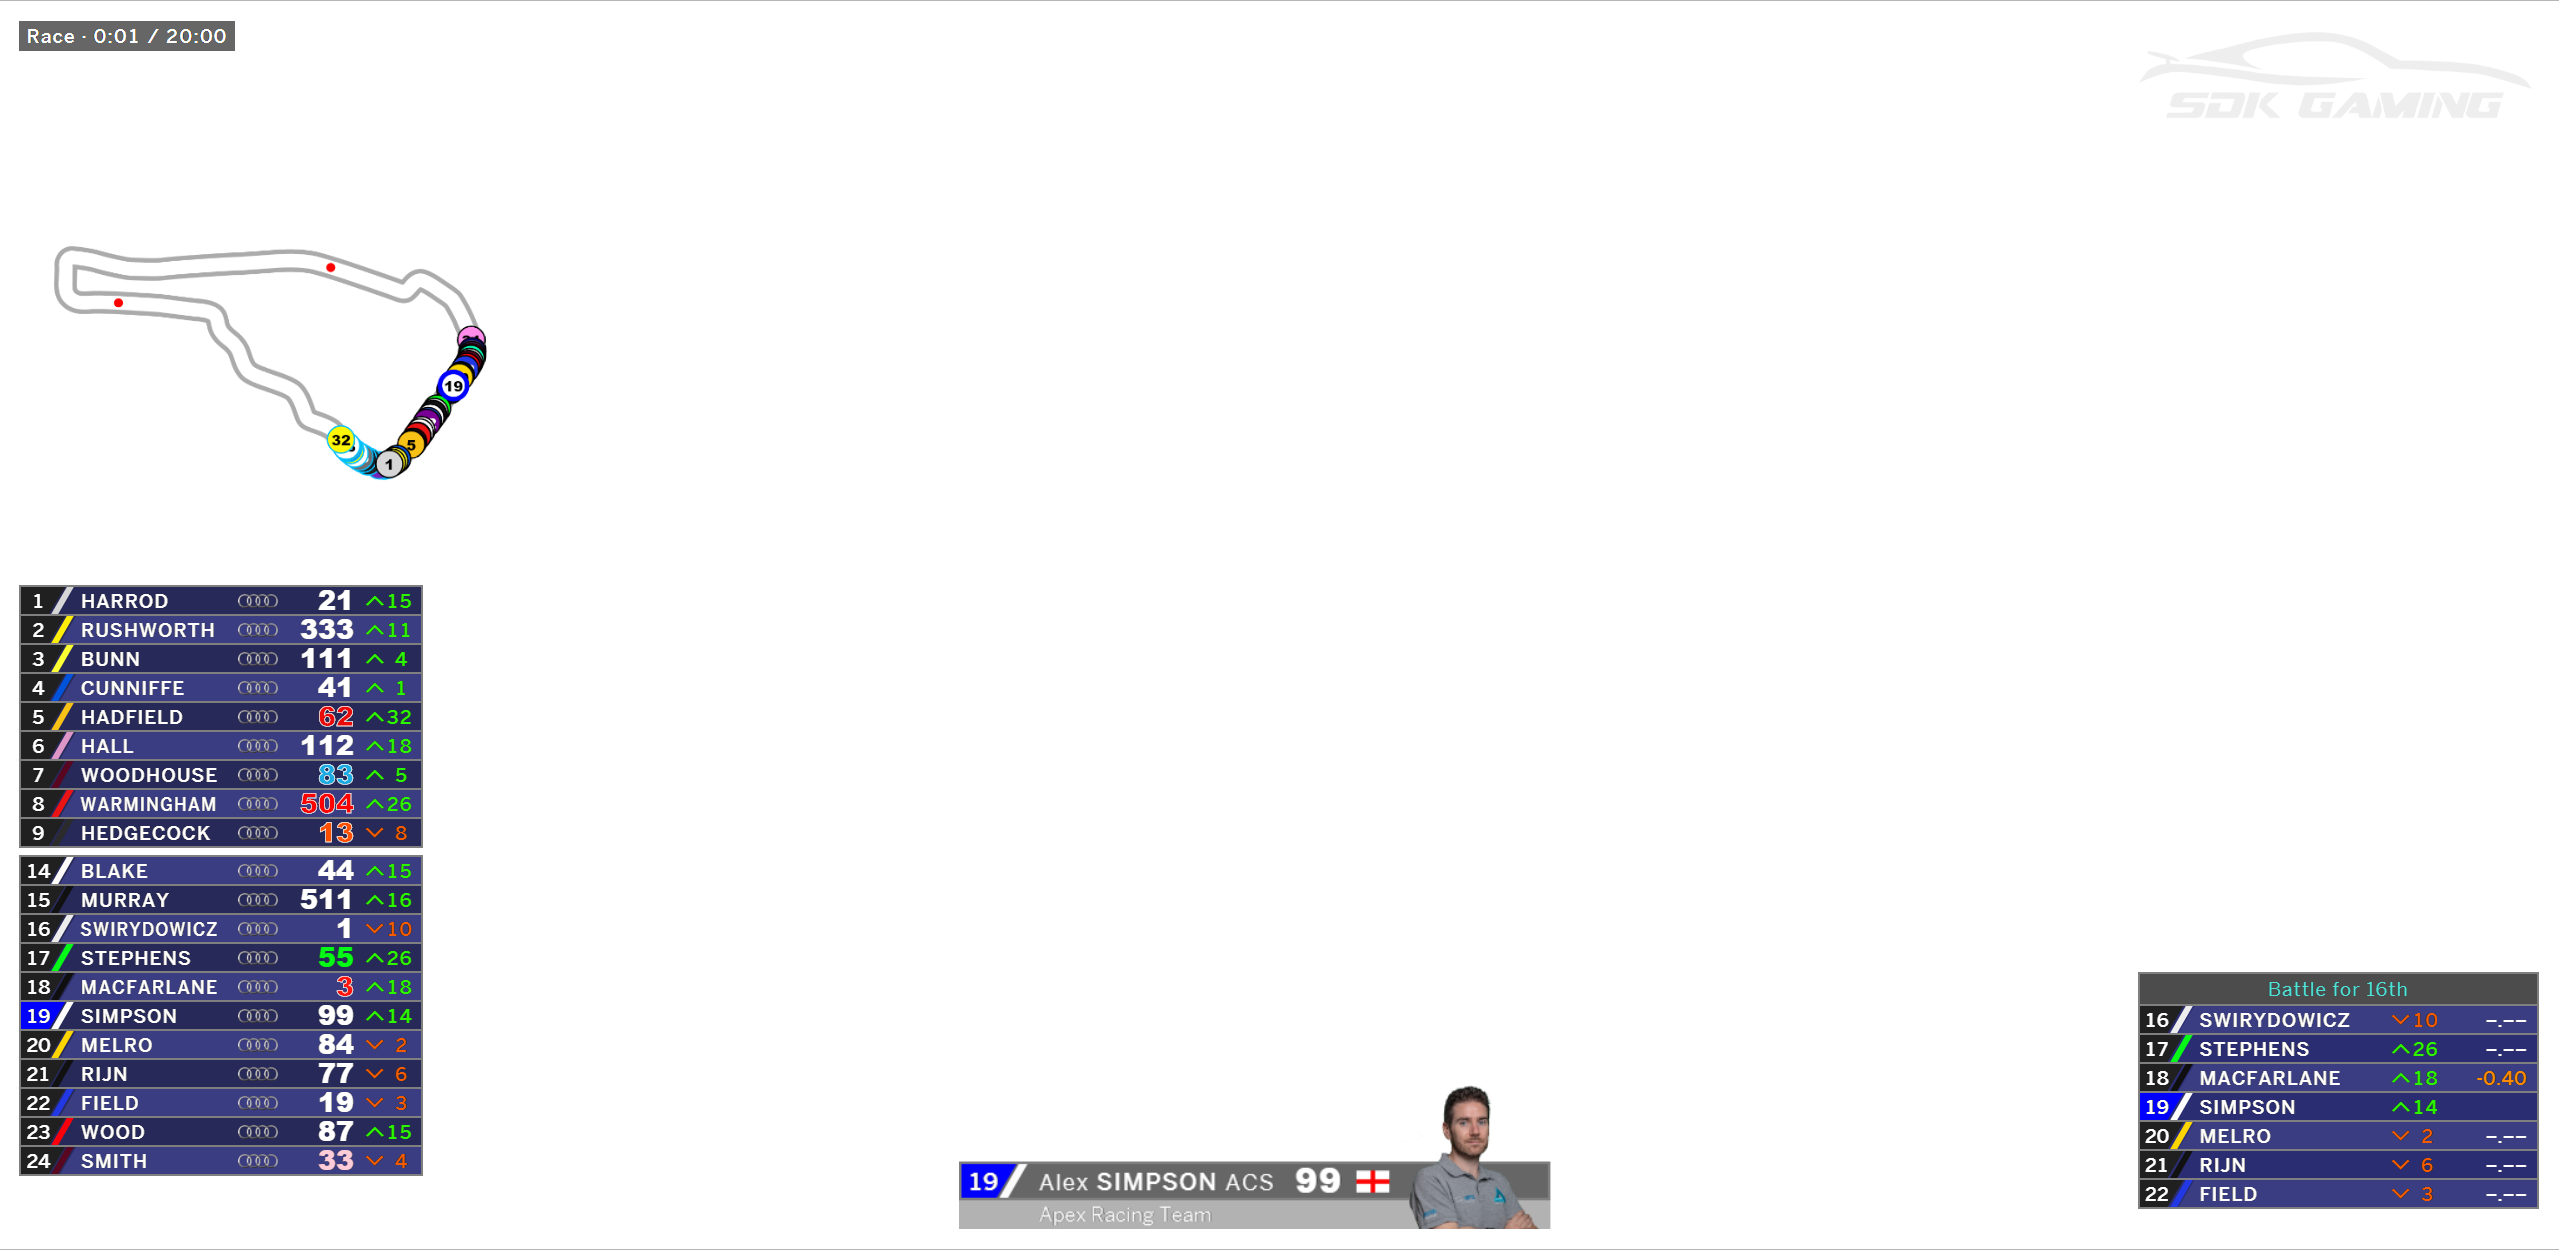
Next we will resize the Battle Box to make it smaller. To do this we will look at the Transform property and specifically the TranslateZ value. By default this is set to 0px, if I enter a positive value the size of the Component will increase and a negative value will reduce the size.
After choosing a value of -350px I am happy with the size now but the Battle Box is no longer sitting flush against the right edge of the overlay. This is because the top left corner of the Component will remain in the same position during resizing pulling the right hand side away from the edge.
So after further experimenting I have settled on a Right value of -120px to bring it back to the edge of the screen.
.overlay>.battle {
   bottom:300px;
   right: -120px;
   transform:perspective(1000px) translateZ(-350px);
}
Colours
Colour values can be entered in several different ways:
- Name – White, green, aqua etc.
- Hex Code – Consists of “#” symbol and a red, green and blue value.
- RGB Code – Consists of a red, green, blue and opacity value.
You can read more about how these different formats can be used here: Web Colors
Here are some of the most commonly used settings to adjust colours throughout the overlay:
.overlay {
    --driver-background-color: rgba(0, 0, 0, 0.4); /* Background of driver names*/
    --driver-background-color-darker: rgba(0, 0, 0, 0.32); /* Alternating darker background driver names*/
    --driver-selected-color: #00FF00; /* Selected driver icon*/
    --driver-offtrack-color: #FF0000; /* Offtrack driver icon*/
    --driver-position-background-color: #707070; /* Driver position icon*/
    --driver-position-text-color: white; /* Text of driver position icon*/
    --text-color: white; /* Text of driver names*/
}
Experiment
This is still just the very tip of the iceberg of what you can do with Style Overrides.
To help you find the CSS code you need for the component you want to work on, click the question mark in the top right of the component in your Remote Control Tab or choose it from the list here: Overlay Component List On each component page you will find example CSS code you can copy to make basic adjustments.
For more advanced changes you can find the full CSS Style sheet here, this controls every single element of how the overlay looks. You can copy and paste any sections of this code into your style overrides and experiment with how they affect your overlay.
We look forward to seeing what you come up with!!
Hi, when I click on the 3 dots on the right the window don’t open. What could be happening?